
Need to send a client a quote, report or specification stored in Microsoft 365? This guide shows you how to share that individual file using the client’s email address, give them viewing access and remove the link when the work is finished.
Use Microsoft OneDrive or Microsoft SharePoint in a web browser, signed in with your work account. Your organisation must allow external sharing. Button labels can differ between Microsoft’s sharing layouts.
Before you start: check the whole document, including comments and tracked changes, and confirm it is approved to share. Select the file the client needs; sharing a folder can give access to other files in it.
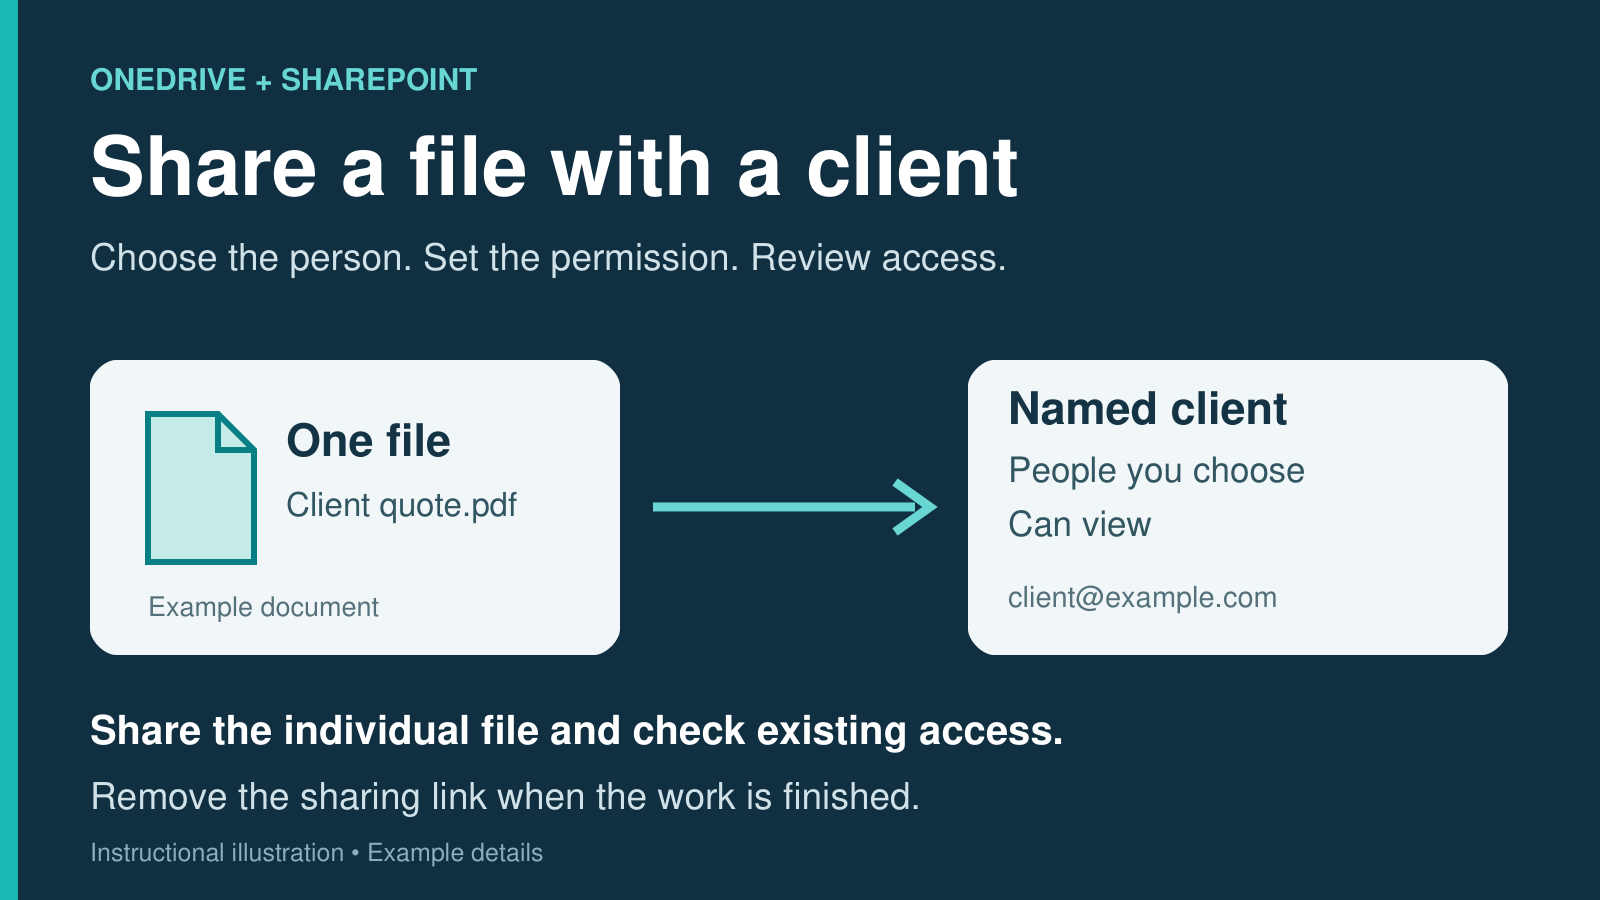
Share the file in five steps
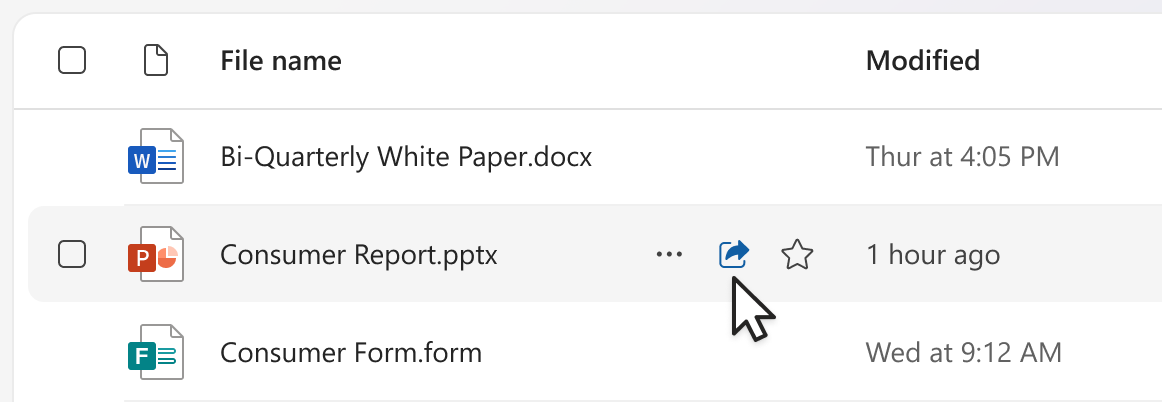
1. Find the file and select Share.
Open your OneDrive files or the SharePoint document library. In the file list, select the intended file and choose Share, or use the Share icon beside its name.
2. Set the permission to Can view.
Open the permission selector beside the recipient field. Choose Can view for a document the client only needs to read. If your layout uses Allow editing, clear that option instead.
3. Choose who can use the link.
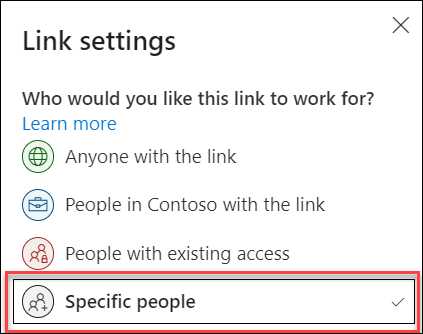
Open Link settings beside Copy link. Choose People you choose, or Specific people in the alternate layout, then select Apply.
4. Add the client’s email address and copy the link.
Enter and check the exact address in the recipient field. Recheck the permission, then select Copy link.
5. Send it and check that it works.
Paste the link into your email. Tell the client which address you granted access to and ask them to confirm they can open the file. Testing it while signed in as the owner does not check the client’s access.
A named-person link requires the recipient to authenticate as that person. Forwarding it does not give an unrelated person access through that link. Can view does not necessarily prevent downloads. Download restrictions are separate and depend on your configuration.
Already shared the folder? This new link does not remove earlier permissions. Select the file, open Details → Manage access, and check its existing people and links. Access inherited from a folder or site may need the owner or administrator to review it.
If the client cannot open the file
- Check the email address and account. Compare the address you invited with the account the client is using. Ask them to use the invited address and follow Microsoft’s sign-in or verification prompt.
- Check the link’s audience. A People in your organisation link does not work for an external client. Return to Link settings and use the named-person option. Do not switch to Anyone to bypass a problem: whoever obtains that link could use it.
- Check for a policy restriction. If external sharing is unavailable or the invitation is blocked, ask your IT administrator. Keep the exact error message and invited address handy. Osmicro’s IT support team can help investigate Microsoft 365 access problems.
Older link suddenly stopped working? During October 2026, Microsoft is changing the older SharePoint guest passcode flow. Ask your administrator to check the Microsoft transition guidance and the client’s guest account. Entra B2B email passcodes are not being retired.
Remove the link when the work is finished
If you own the file and the client no longer needs it:
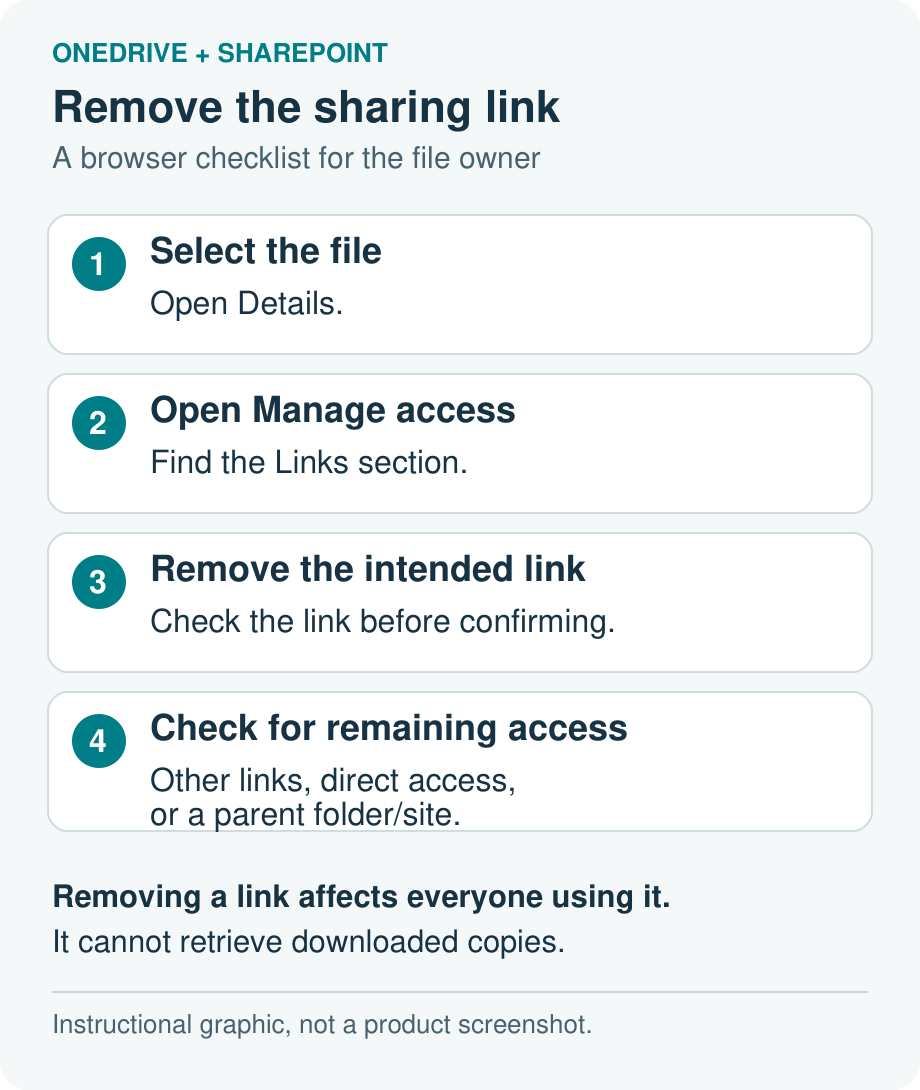
- Select the file, open Details, then Manage access.
- Open Links, find the link you created for this handover, and use its remove-link control. Check which link you are removing before confirming.
- Review any remaining access. Other links, direct permissions or a shared parent folder/site can still let the client in. Ask the owner or administrator before changing inherited permissions.
Removing a link affects everyone who relies on it and does not retrieve copies already downloaded.
Related reading: If you also work with these files in Windows File Explorer, our OneDrive status-icons guide explains whether a file is online-only or available offline. Those icons describe sync and availability, not sharing permissions.
Microsoft references
Checked on 11 October 2026. Available settings depend on your organisation and the file’s protection.