
You can hear the meeting, but nobody can hear you. Start with the microphone Teams has selected, the two mute controls and the permission that applies to your app. Hearing sound through a headset does not establish that its microphone is the input being used.
This checklist covers Microsoft Teams for work or school on Windows 11, with separate checks for the browser version. It is a documentation-based guide, not a report of a customer incident or a tested fix for every headset. Menu wording can vary with updates and your organisation’s settings.
Start with the symptom
Before changing anything, note whether your voice is completely absent, very quiet or cutting in and out. Check whether the problem began after connecting a dock, changing headsets or moving from the desktop app to a browser. Those observations give support a useful comparison; none proves the cause on its own.
If you are already in a meeting, use chat to tell the organiser you are checking your audio. Save other work and arrange a suitable break before reconnecting equipment, closing apps or restarting. Do not record the meeting to diagnose a microphone problem.
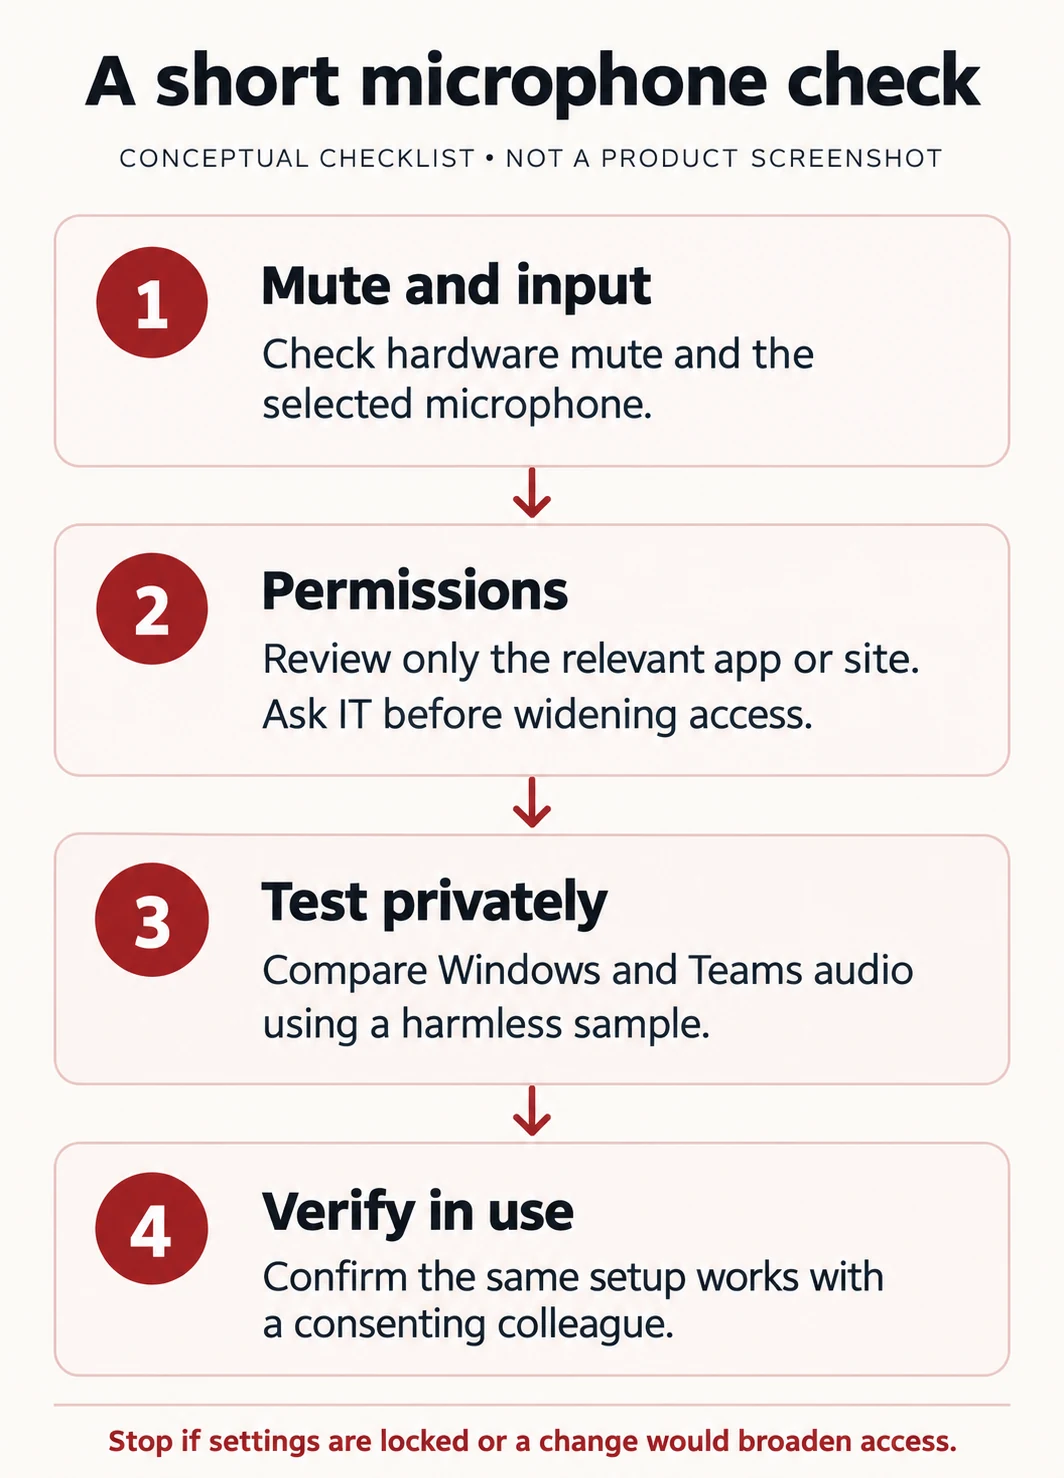
Check both mute controls
Look at the Mic control in Teams and unmute when it is your turn to speak. Then inspect the headset or microphone itself. A physical mute button or a boom that mutes when raised can keep you silent even when the meeting control looks correct. Check the device’s own instructions rather than guessing what a light means. Microsoft’s microphone troubleshooting guide separates these software and hardware checks.
If Teams will not let you unmute, ask the organiser. Meeting settings and IT policies can limit microphone controls; repeatedly changing your device will not override those restrictions.
Select the microphone in Teams
When joining with your laptop and headset, check that the pre-join audio source is Computer audio. A meeting room or phone audio choice uses a different audio source.
In the Teams desktop app:
- Open Settings and more, then Settings and Devices.
- In Audio > Audio settings, inspect the Microphone selection.
- Select the intended connected headset or microphone explicitly. Check the Speaker selection separately.
During a meeting, the arrow beside Mic opens audio options; More audio settings provides additional controls. Changes can apply immediately, so make them at a suitable pause. Microsoft documents these paths in Manage audio settings in Teams meetings.
For example, a laptop microphone and a headset microphone may both be listed. Choosing the headset’s speakers does not by itself confirm which microphone Teams is using. This is an illustrative possibility, not a claim about your device.
Check Windows permission without widening access casually
Open Start, Settings, Privacy & security, then Microphone. Review Microphone access and the applicable app access. If Teams has an individual switch, check that switch. If an organisation manages the setting, ask IT to review it.
There is an important limitation: Windows’ Let desktop apps access your microphone switch is a shared control for desktop apps, rather than an individual Teams permission. Teams or your browser may not appear as separately switchable apps. If a broader control is off, stop and ask IT which change is appropriate instead of enabling access for more apps as a quick experiment. Do not turn on camera access to troubleshoot an ordinary microphone-only issue.
Microsoft explains the different scopes in Windows camera, microphone and privacy. Keep a note of the original setting and any authorised change.
If you use Teams in a browser
The browser needs operating-system access, and the Teams website needs its own microphone permission. A working desktop app does not confirm both browser permissions are correct.
In Chrome, open Settings, Privacy and security, Site settings, then Microphone. Check the selected input and review the permissions for the exact Teams site you opened through your normal work sign-in. If it is blocked, change only that site’s microphone permission when your organisation allows it. Google’s camera and microphone instructions describe the input selector and site exceptions.
In Edge, inspect the permission for the Teams site too; Windows permission alone does not grant a website microphone access. Leave unrelated sites and camera permissions unchanged. After saving work, refresh or rejoin when prompted. Stop if the browser says an administrator controls the setting.
If the meeting link itself will not open, use our separate website-link troubleshooting guide. If Chrome is generally sluggish, our guide to finding a busy tab or extension addresses that different symptom.
Test the input and then the meeting path
Outside the live meeting, open Windows Settings, System, Sound. Under Input, select the intended microphone and open its properties. Use Start test, speak a short harmless phrase, stop the test and play the recorded sample where offered. Adjust Input volume only if needed. Microsoft’s Windows microphone guide describes this check.
Next, in Teams desktop Settings, Devices, use Make a test call if available. Follow the bot’s instructions and listen to the sample playback. Microsoft documents this feature for the Windows and Mac desktop apps; the test-call feature is not available in Teams for web. For a browser check, arrange a brief call with a consenting colleague instead. Use only your own voice and no confidential information.
Interpret the comparison cautiously:
- No usable Windows sample: investigate the device connection, mute state or operating-system input before treating this as Teams-only.
- A clear Windows sample but no Teams audio: recheck Teams’ selected input and the relevant permissions.
- A successful test call but failure in one meeting: record the meeting-specific difference and check with its organiser.
These results narrow the investigation; they do not conclusively identify the fault. Verify the final result in the same app or browser and connection setup you use for work, with another participant confirming they can hear you clearly.
Know when to hand it to IT
Escalate if the microphone is missing from Windows, settings are locked, the problem returns after reconnecting a dock, or it occurs only in a remote desktop or virtual desktop session. Avoid registry edits, unofficial drivers, security changes or reinstalling everything during a meeting. Let IT plan any driver or application repair and check its impact.
Send support the headset model and connection type, Windows and Teams or browser versions, the selected input, the exact error and time, and which checks worked. Share a cropped, redacted screenshot only if needed; leave meeting links, participant names and confidential work out.
For help checking the device and workplace configuration together, Osmicro’s IT support service is the next step. A short record of what changed and what you heard in each test is more useful than a list of settings changed at random.
Sources reviewed 20 November 2026, Australia/Sydney. This is documentation-based guidance; no headset, tenant or customer test was performed.